Composting Yard
and Kitchen Waste
Want to Help?Begin with Composting
Composting is an easy and impactful way to reduce waste, enrich your soil, and help protect the environment. By turning everyday kitchen scraps and yard trimmings into nutrient-rich compost, you can help build a healthier community and a healthier planet.
Why Compost Waste?
Reduces
Landfill Waste
Organic materials such as food scraps and yard waste account for a significant portion of landfill waste. Composting diverts these from landfills, reducing methane emissions—a potent greenhouse gas.
Enhances
Soil Health
Compost improves soil structure, increases water retention, and provides essential nutrients, leading to healthier plants and gardens.

Supports Climate Resilience
Applying compost to soil can help mitigate the effects of drought and flooding by improving the soil’s ability to absorb and retain water.
In the United States,
food waste accounts for approximately
22%
of Municipal Waste
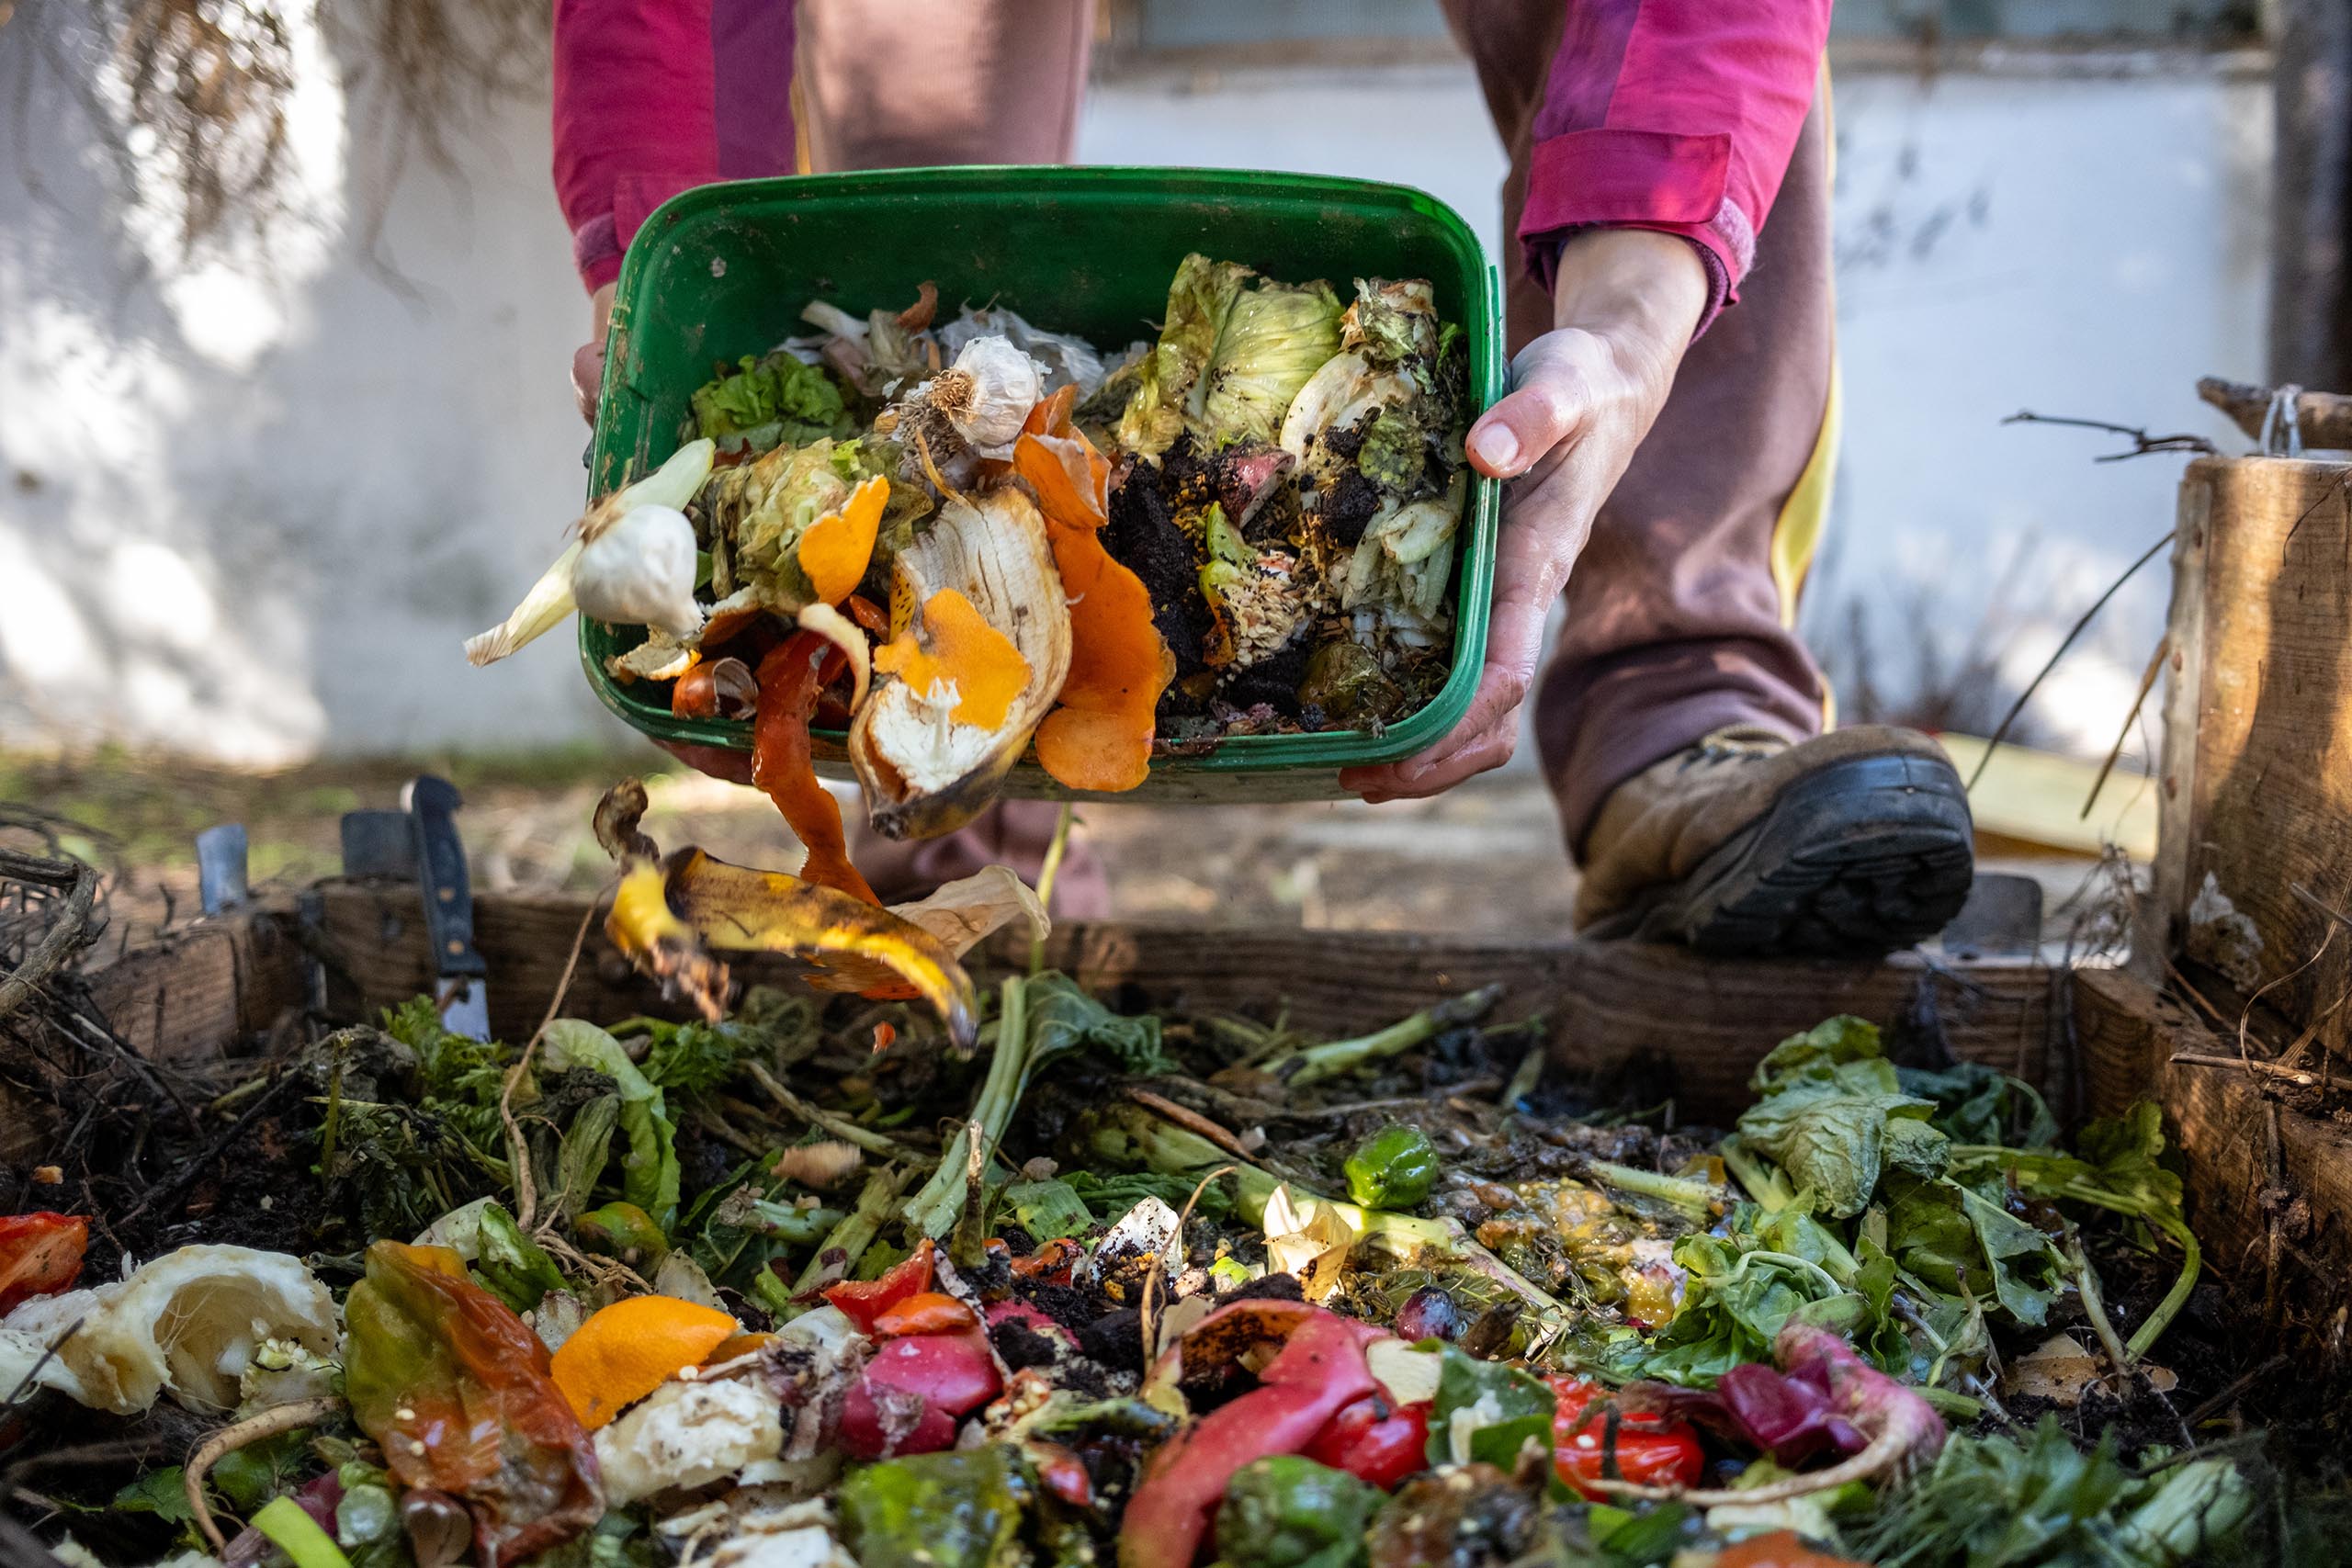
Guide to CompostingTo start composting, you’ll need three basic things: organic materials, air, and moisture.
Organic Materials: These include “greens” like fruit and vegetable scraps, coffee grounds, and fresh grass clippings, which provide nitrogen; and “browns” such as dry leaves, straw, and cardboard, which add carbon. A good balance of greens and browns is key to healthy compost.
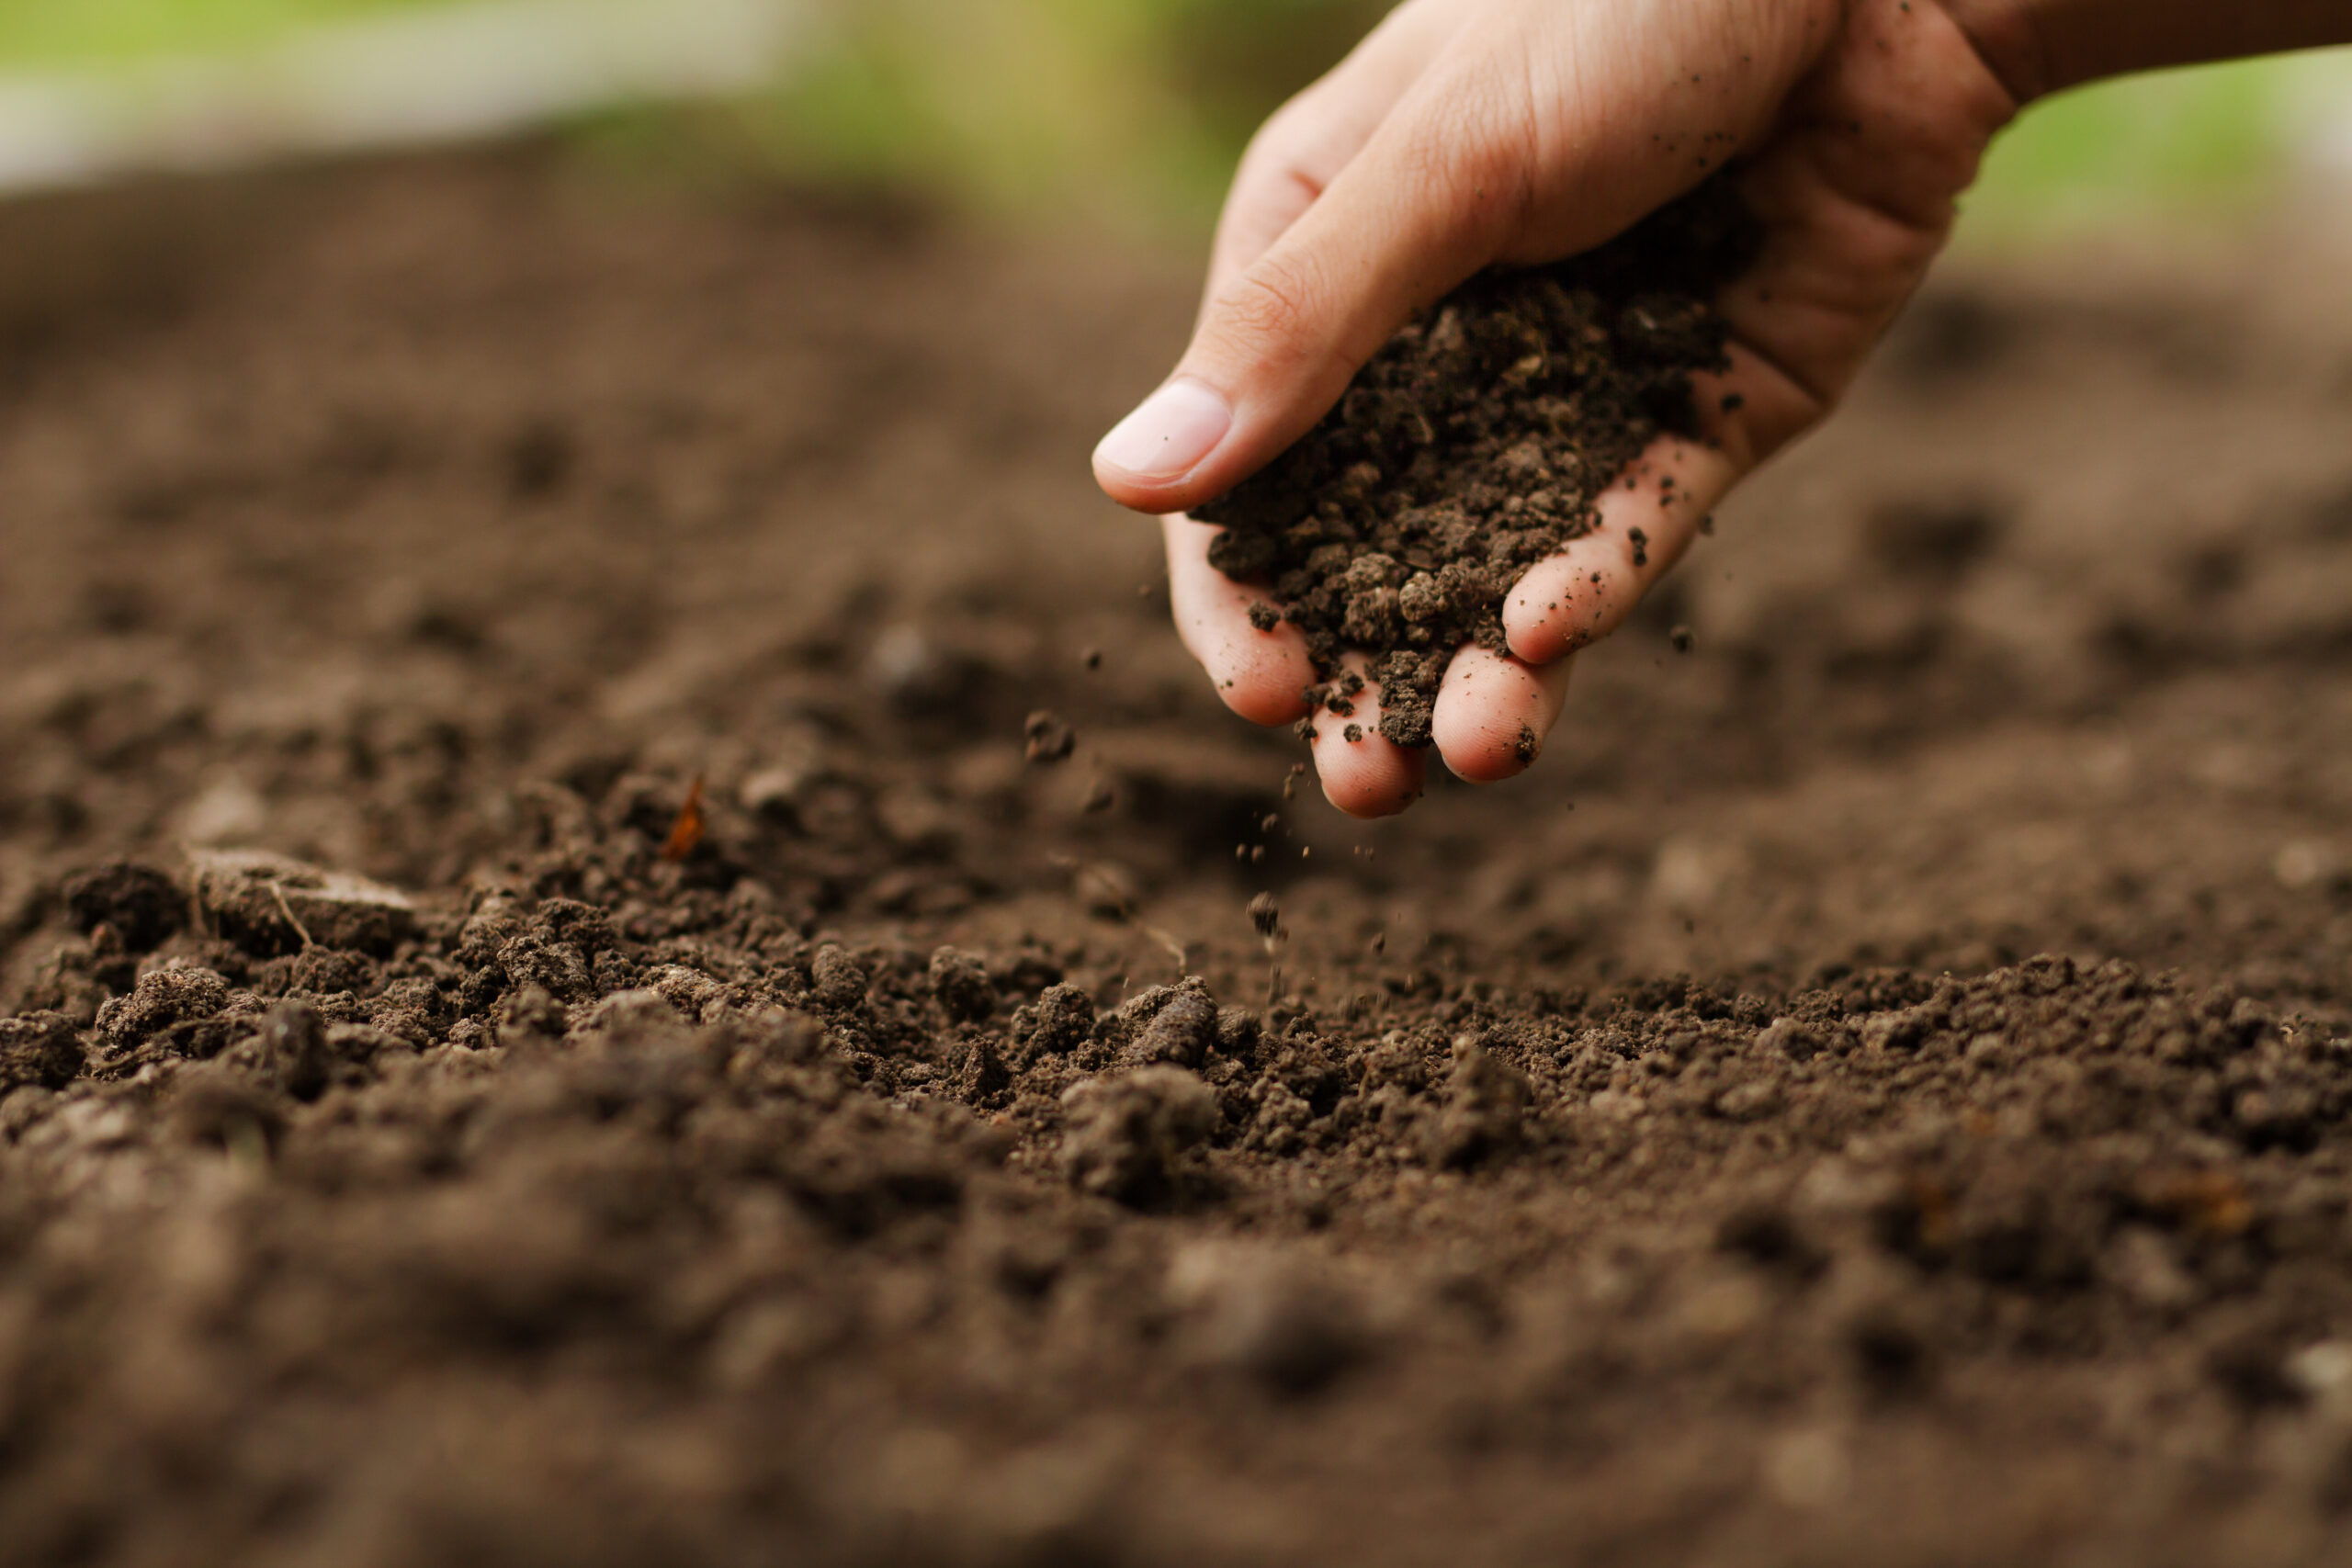
Air: Composting requires oxygen for microorganisms to break down materials efficiently. Turning or aerating your compost pile regularly keeps the air flowing.
Moisture: Compost should be damp, like a wrung-out sponge. Too much water can cause odors, while too little will slow decomposition.
Optional but helpful: a compost bin or designated pile to contain and manage your materials neatly.
Common Misconceptions
Yays and Nays to Composting
Greens
- Fruit scraps and peels (apples, bananas, berries, citrus, etc.)
- Vegetable scraps and peels (carrots, lettuce, potato skins, etc.)
- Coffee grounds and filters
- Fresh grass clippings
- Green leaves and plant trimmings
- Tea bags (make sure they’re compostable)
- Fresh flowers and houseplants (non-toxic)
- Eggshells (crushed, although technically “browns,” they add calcium)
Browns
- Dry leaves
- Straw or hay
- Shredded cardboard and paper (non-glossy, uncoated)
- Sawdust and wood chips (untreated wood)
- Pine needles
- Twigs and small branches
- Corn stalks and husks
- Coffee filters (if unbleached)
Not Compostable
- Meat, fish, and bones
- Dairy products (milk, cheese, yogurt)
- Oils, fats, and grease
- Pet waste (dog or cat feces)
- Diseased or insect-infested plants
- Chemically treated wood or sawdust
- Plastic, glass, and metals
- Synthetic fabrics and materials
- Glossy or coated paper and cardboard
- Coal or charcoal ash
- Large branches that don’t break down easily

Utilizing Finished Compost
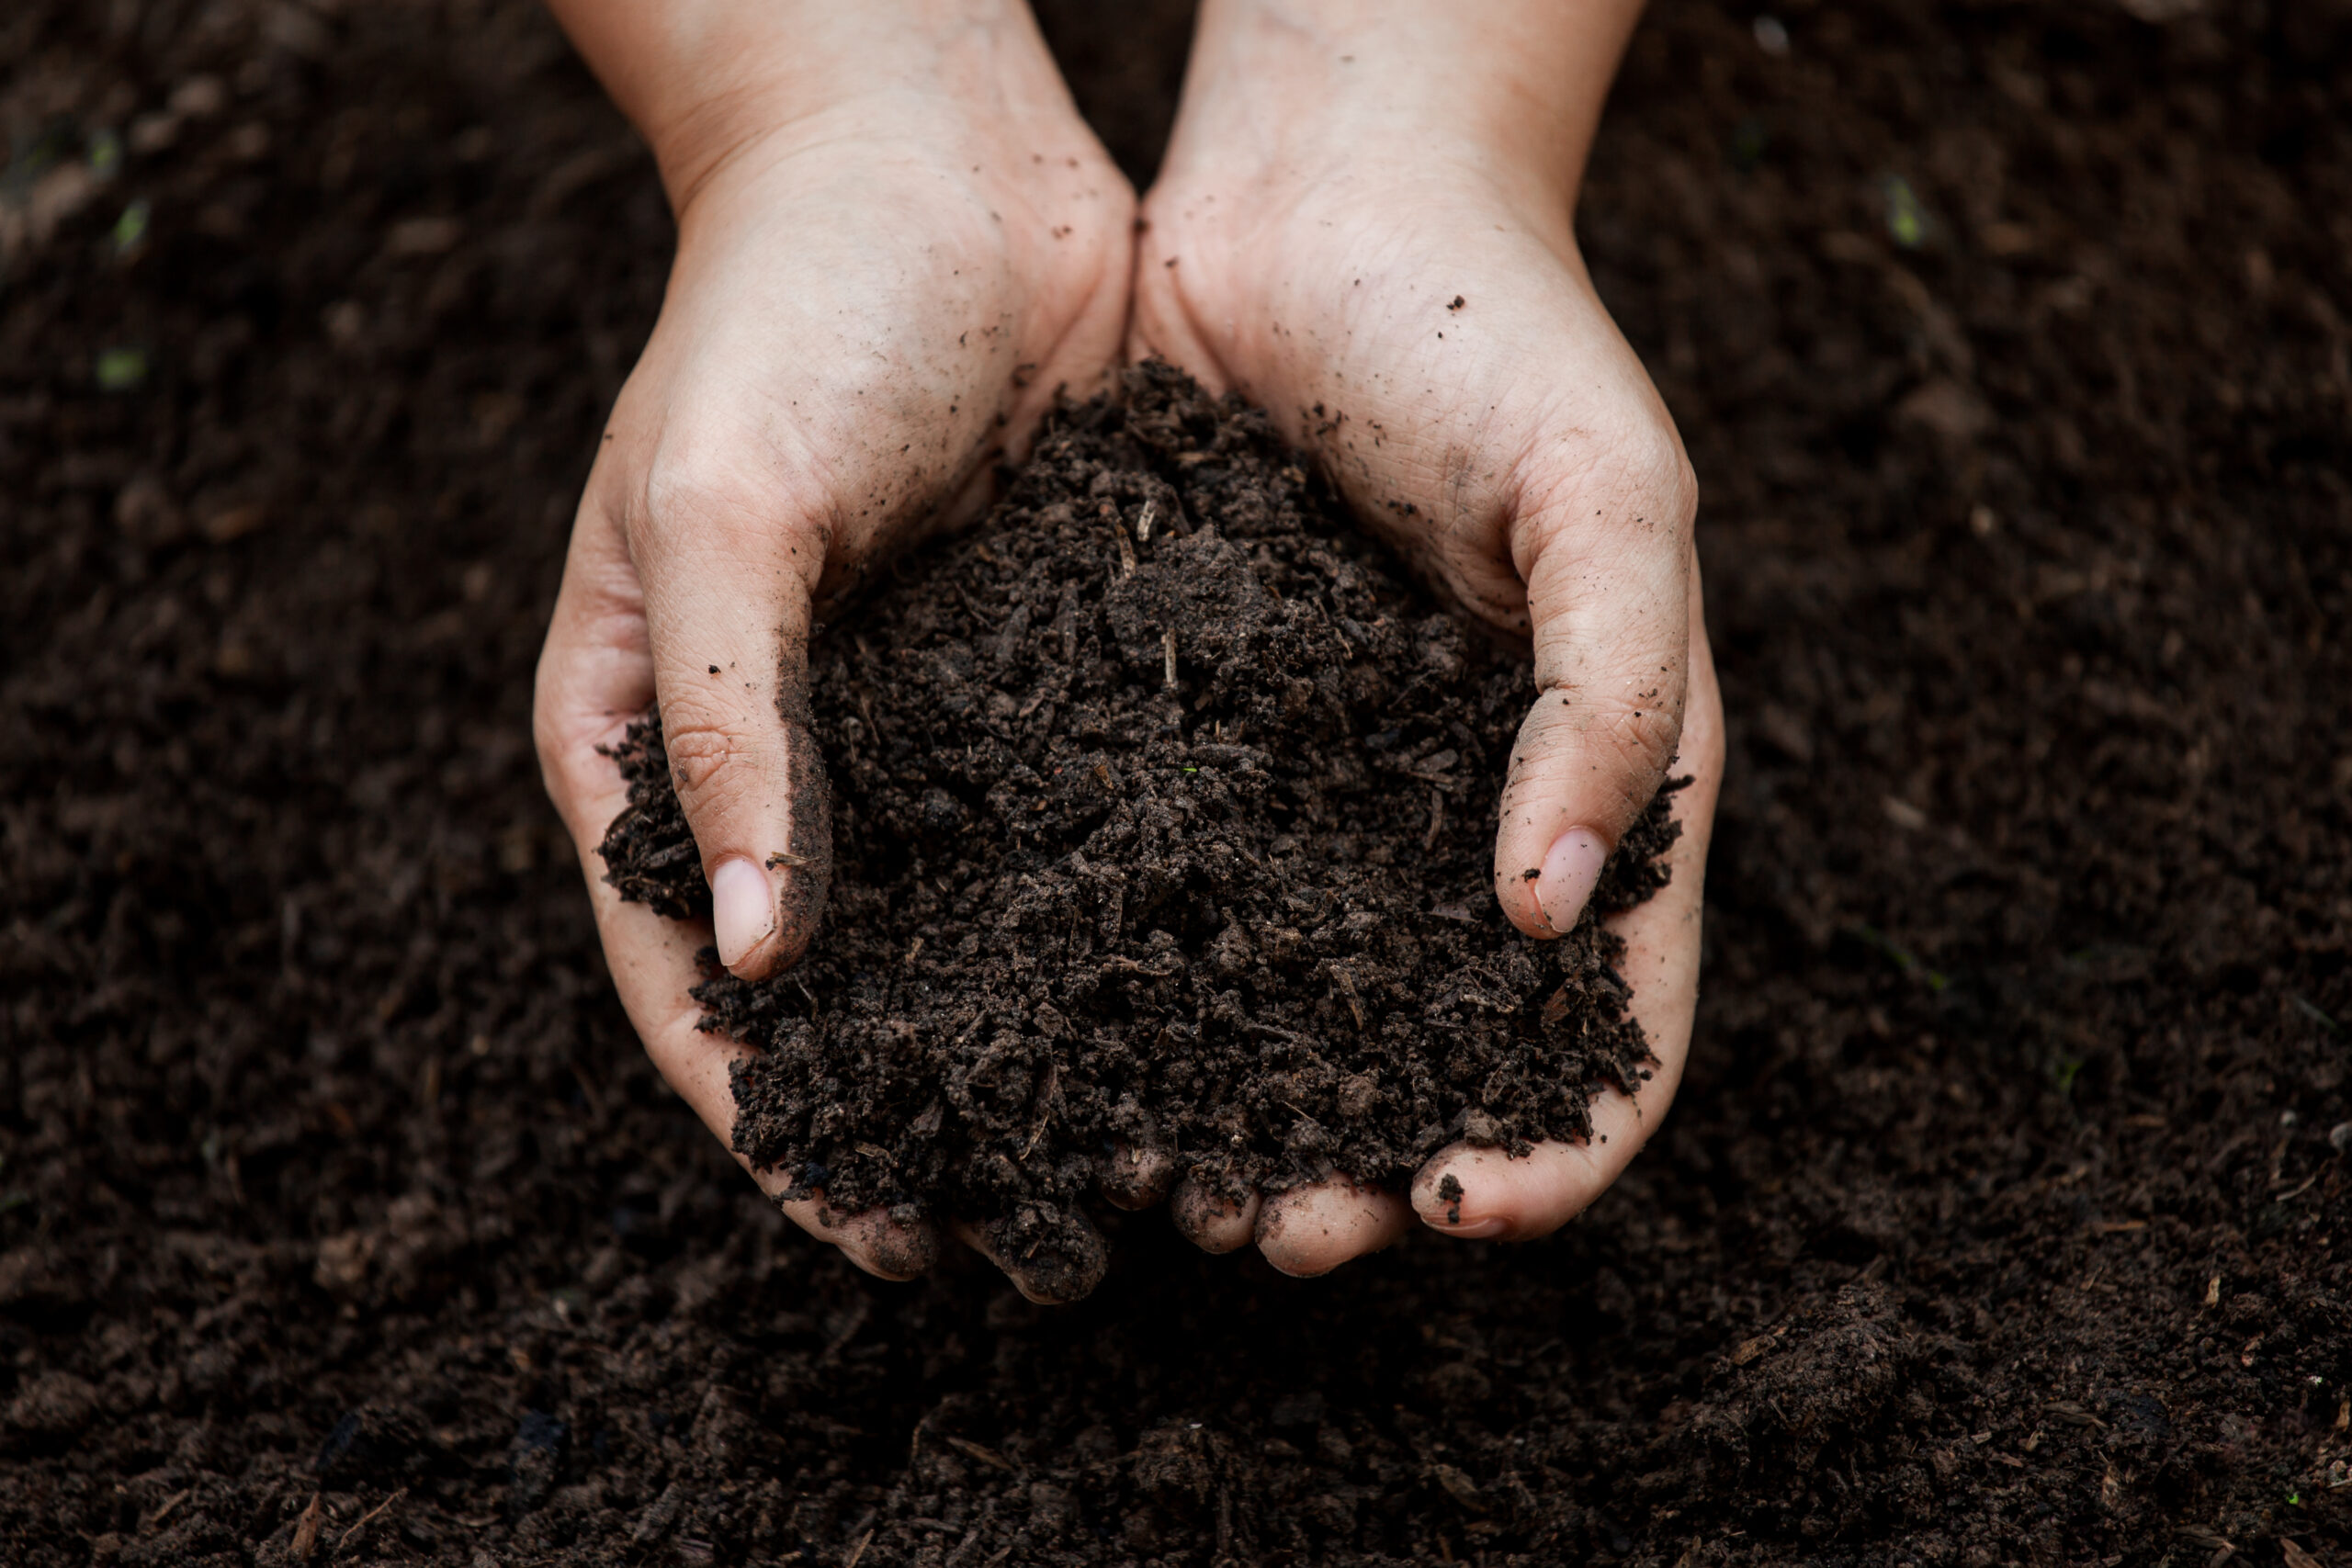
Compost is ready to use when it looks dark and crumbly, and none of the original ingredients are recognizable. One way to test if your compost is finished is to seal a small sample in a plastic bag for 24 to 48 hours. If no strong odors are released when you open the bag, the compost is done. Compost can be applied directly around the base of trees and shrubs to serve as mulch. It can also be worked into the top six to eight inches of the soil to provide increased water retention and valuable nutrients.
Once your compost is finished and ready to enrich your soil, you can
- Mix it into garden beds to improve soil structure and fertility.
- Use it as mulch around plants to retain moisture and suppress weeds.
- Add it to potted plants to provide nutrients and promote healthy growth.
- Topdress your lawn with a thin layer to boost grass health.
- Share with neighbors or community gardens to support local green spaces.
Steps to Composting
1. Choose a Composting MethodDecide whether you want to use a backyard compost bin, a compost pile, or vermicomposting (using worms).
2. Select a LocationPick a well-drained, shaded spot with good air circulation for your compost bin or pile.
3. Gather MaterialsCollect a mix of green materials (kitchen scraps, grass clippings) and brown materials (dry leaves, cardboard).
4. Build Your Pile or BinStart layering greens and browns—aim for about 2 parts browns to 1 part greens for balance.
5. Maintain MoistureKeep the pile damp, like a wrung-out sponge. Add water if it’s too dry, or add more browns if it’s too wet.
6. Turn Your CompostAerate the pile every 1-2 weeks by turning or mixing it to speed up decomposition.
7. Wait and MonitorCompost can take a few months to break down. Monitor moisture, temperature, and turn as needed.
8. Harvest CompostOnce the material is dark, crumbly, and earthy-smelling, it’s ready to use as nutrient-rich soil for your garden!